What is Line and Wash?
For this article I am assuming the reader to be pretty new to the line and wash drawing technique as a process.
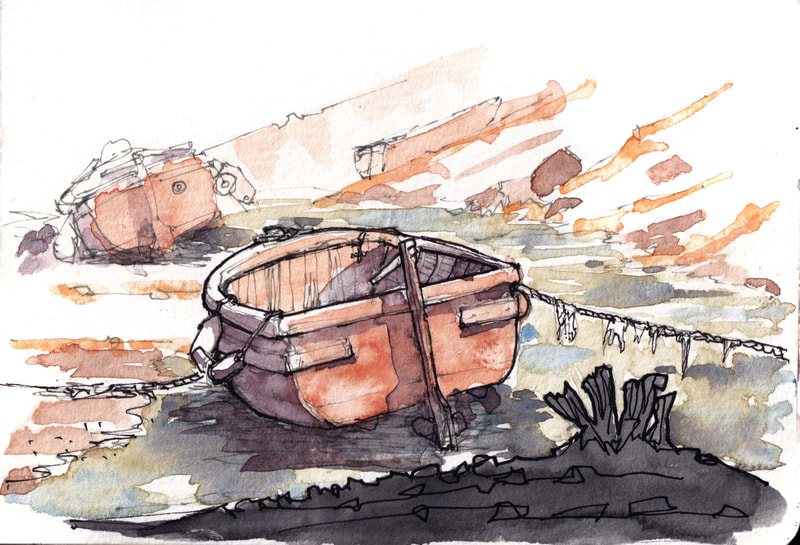
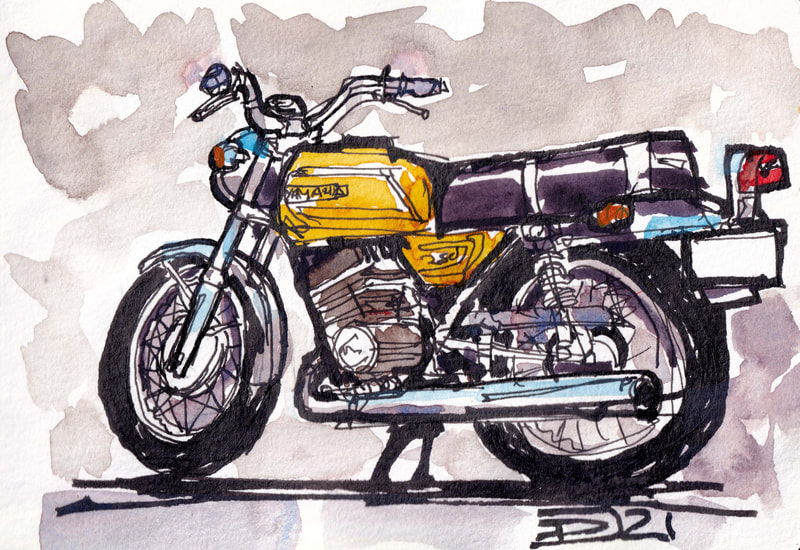
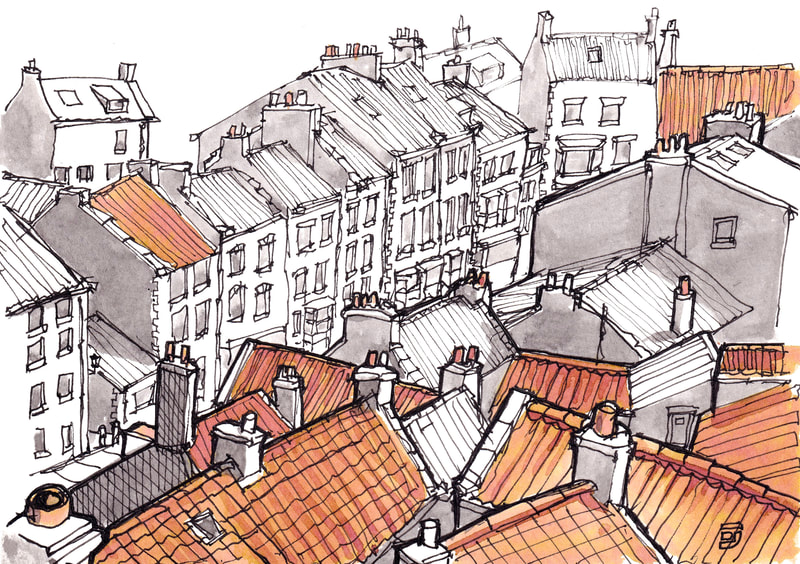
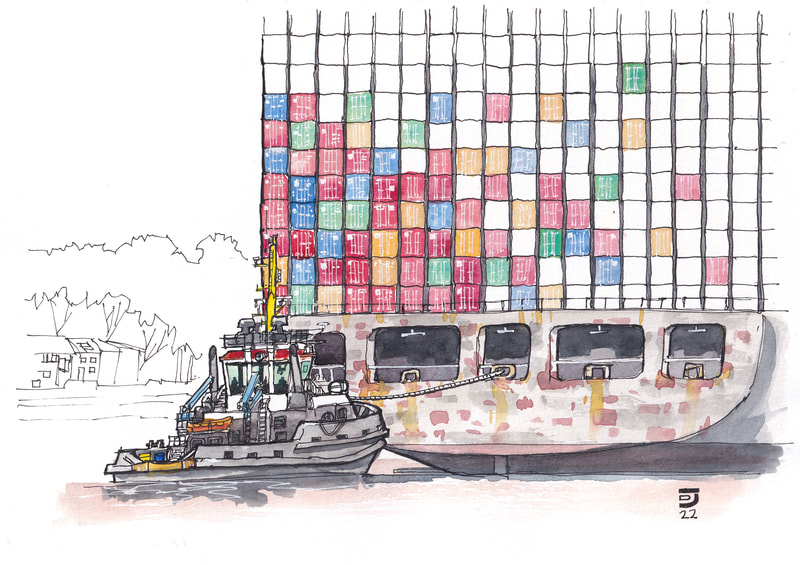
Line and Wash (often also called pen and wash) technique is basically a process of drawing lines and then applying some colour to the piece. Some people do this technique by applying the colour first then applying the lines (which often gives a looser feel to a piece). Although many people would argue that line and wash as a technique doesn’t have the nuance and kudos of oils or watercolour painting, I would say that it offers just as much opportunity for experimentation and expression as either of those media.
Encyclopaedia Britannica: states; "In 13th-century China, artists used transparent ink washes to create delicate atmospheric effects. The line-and-wash technique was practiced in Europe from the Renaissance, and in the early 15th century Cennino Cennini gave detailed instructions for reinforcing a pen drawing with the brush”To this I would like to add that some of the oldest cave art discovered and many of the illustration in pyramid are of a similar type of art.
would say the most traditional way to do a line and wash piece would be;
Note: You don’t have to do it this way at all. Firstly, you don’t have to sketch a plan in pencil. I often just go straight in with pen or occasionally I start with watercolour first and add lines later. It really is worth experimenting with mixing up the process as you can often discover new and interesting ways to express yourself and create different types of marks.
would say the most traditional way to do a line and wash piece would be;
- Do a rough pencil sketch
- Line in the pencil sketch with ink
- Remove pencil
- Add a layer of watercolour normally starting with the sky
- Add another layer of watercolour to layer up and add tones
- Add a finally layer of watercolour where needed to develop shadows
- Add any further linework
Note: You don’t have to do it this way at all. Firstly, you don’t have to sketch a plan in pencil. I often just go straight in with pen or occasionally I start with watercolour first and add lines later. It really is worth experimenting with mixing up the process as you can often discover new and interesting ways to express yourself and create different types of marks.
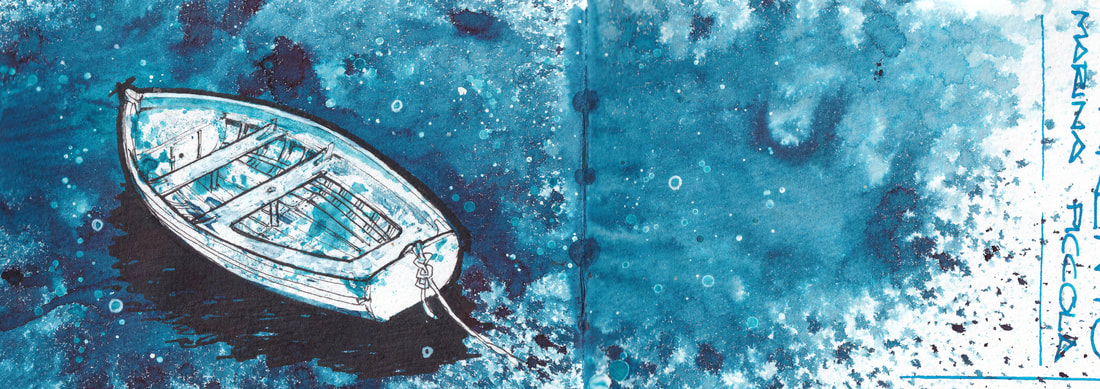
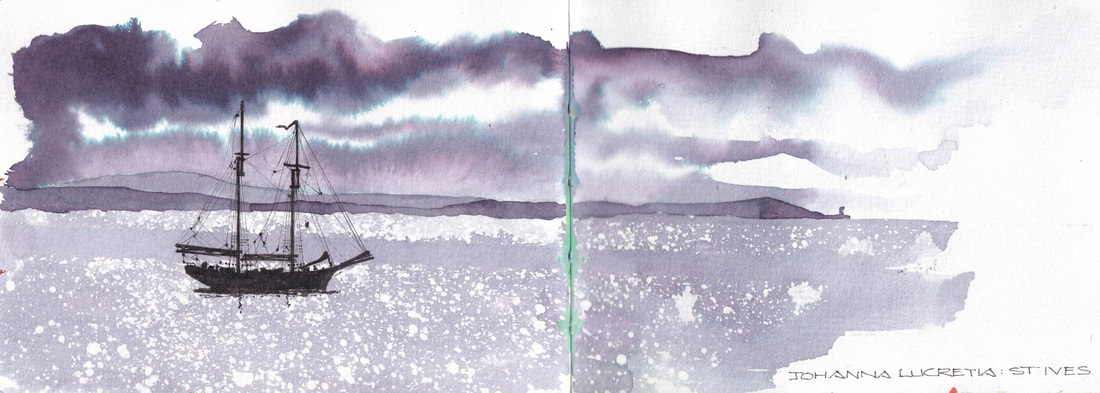
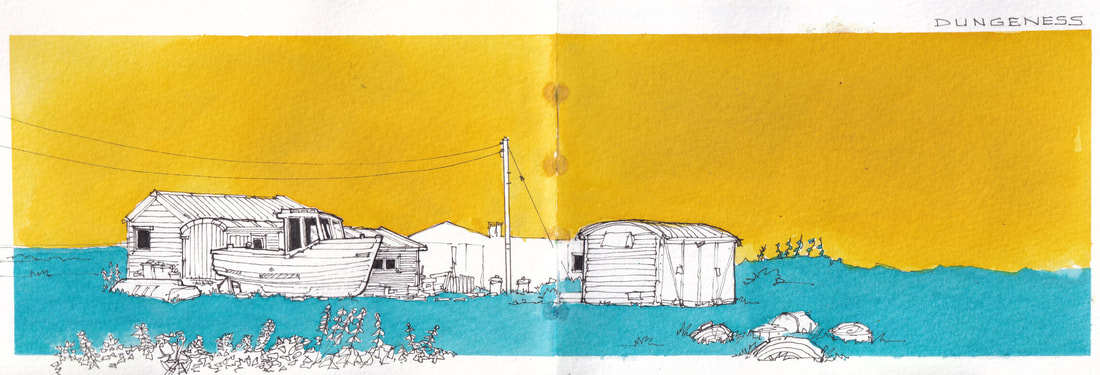 Line and Wash across two pages in a tiny A6 Seawhite of Brighton sketchbook - House in Dungeoness - INK not watercolour
What materials do I need?
I would say normally you would use at least a pen or pencil and some watercolour paints. To keep it simple, I often use just one type of ink or a simple watercolour tone for a picture and it works very well. As a minimum I would suggest starting with some cheap watercolour paper, some fineliners and cheapish paints. (Just go with a set of no more than 12 different colours, it’s all you need). Pens make a vast difference as you can probably imagine. I will list the most commonly used below with a little bit of information about each type.
Fineliners
These are made by Uni pin, Etchr, Faber-castell and many more manufactures. They come in a vast number of thickness and even many different colours. I have used light grey, dark grey and black but the red ones look like they would be fun. Initially I would suggest buying a thinnish on, say a 0.1 and a wider one, say 0.5 and I’d start with black. These should be waterproof when dry so you can apply paint over the top.
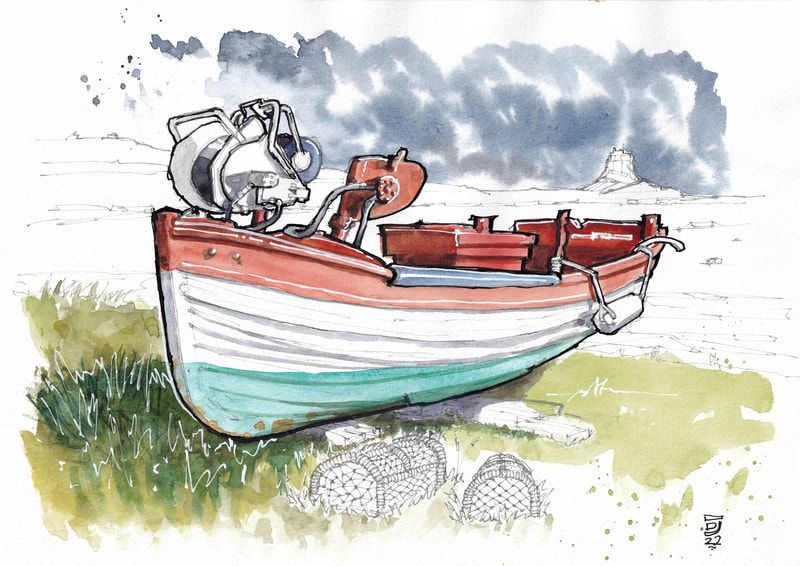
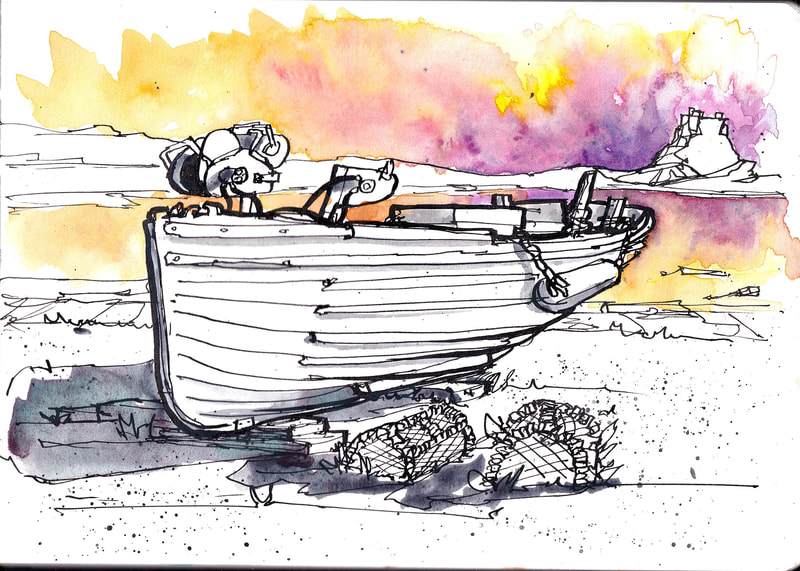
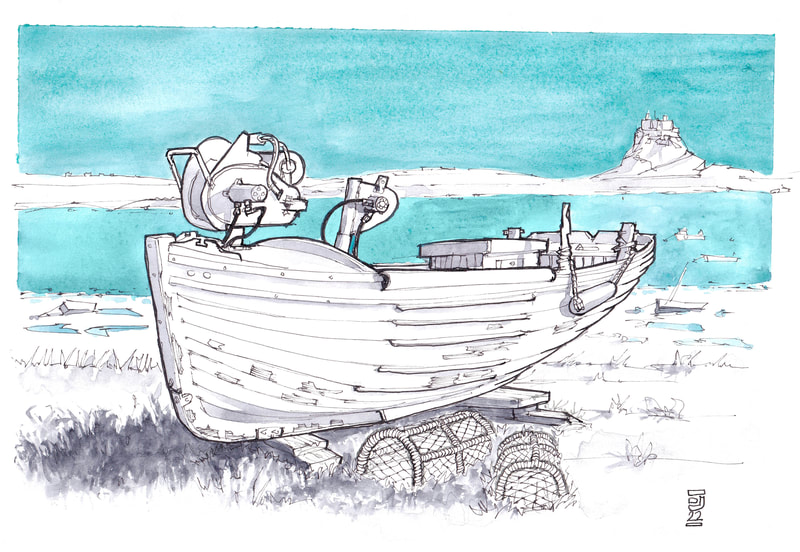
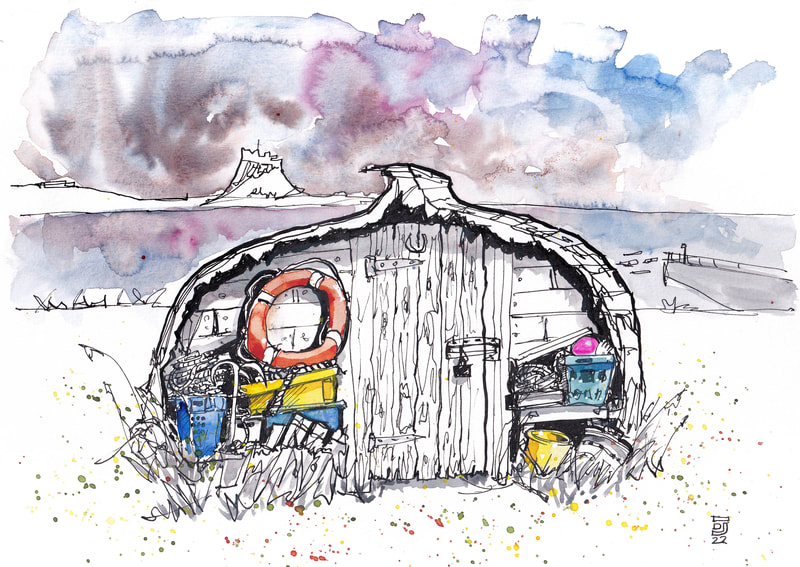
Three different approaches to the same view of Lindisfarne Island. Different line weights and colours. Just playing around to see what works for you.
Fountain Pens
Fountain pens are usually my tool of choice for drawing. I think this is wholly down to the lovely variations in line thickness and little off mark they make. I love fountain pens because you have to faff with them, coax them and really get to know them. It sounds insane but they all have their own little quirks and characteristics. It’s a kind of technology that harps back to a more romantic and certainly less wasteful era. I always feel bad throwing away fineliners when they run out. What a waste of material for the sake of a few drops of ink. Fountain pens, if looked after, will last a lifetime. There are choices of thick, thin, fude or flex nibs that all give very different marks and a mind-boggling array of ink to feed them on.
One of the big considerations with fountain pen ink is whether it is waterproof or not when dry. Normal fountain pen ink isn’t waterproof and will run, when you paint over it with watercolour. (This can be wonderful and really effective in some drawings, especially if you allow that to dry and then go back in with more linework. Do try it as an experiment). If you would like to try a cheap reliable fountain pen I would recommend a Lamy Safari or the compact Kaweco Sport with a F(fine) or EF(extra fine) nib. Both are excellent value and very robust. There are loads of other types and brands of fountain pens available with different nibs but I’d start with a basic and cheap one and go from there.
Other Pens
A pencil might be useful if you’re not happy to start sketching in pen straight away without a pencil under drawing. I would say that although it is intimating at first to go straight in with pen it is worth doing as an exercise as it makes you looser and less precious but also it teaches you how to correct your mistakes without reaching for the eraser.
Paper
There are three elements to know about paper when you’re starting on your art journey, namely, weight (thickness), quality, and texture. Papers come in rough and smooth textures known as cold pressed (CP) for rough and Hot Pressed (HP) for smooth. If you imagine running a piece of chalk over a rough wall, on its long side, then you've an idea how rough paper can be used to create textures with pens and brushes. Most cheap watercolour paper tends to be lightly textured so kind of falls in the middle ground and it’s not really that important when you’re starting off. In terms of weight, its generally considered that the heavier, the better, but although I’ve used 300gsm (grammes per square meter) and even 600 gsm for larger pieces I tend to work on anything about 200gsm plus. Finally, we come to quality. If you were creating a commission for a client then certainly you should use archival quality, 100% cotton paper, but again for general use and practice normal pulp paper is fine. A note of caution here; All new paper need a bit of time to practice on. Wet media can soak, dry, bleed, run and feel very different on different manufacturers paper. So, it’s worth having a play when you get a new pack or pad to familiarise yourself with that paper.
Paint and Brushes
Go cheap and cheerful for your first set. I would say a basic Windsor & Newton small painting set is fine. They do a Cotman travel set at around £20. Again, like ink and fountain pens, paints are an absolute rabbit hole. When I started with watercolours, I didn’t realise that to make every single colour all I need were red, yellow and blue. I bought a pan set with 32 colours assuming it was better. I now either use a six pan palate(a pan is the name of the small plastic pot each colour is sold in) travel set or a small set with about 12 colours in. The fewer the colours in your palate the faster you will learn to mix them. I’ve learned so much about painting from reading this fabulous blog of Liz Steel, a wonderful teacher who offer so many free resources for beginners.
What is this technique good for?
Line and wash is a fast process compared to a lot of media but it’s also got a lots of scope to be complicated. I love sketchbooks and art journaling and line and wash has an immediacy that I think is great in a sketchbook. Also, this a technique that great for Urbansketching, quick portraits or landscapes.
How do I learn?
You can learn the privacy of your own home with great tutorials and paint along with artist like Peter Sheeler and John Harrison. Instagram itself is a great place to learn and ask questions of other creators. Practice is the key and often people give up because they are too focused on the result achieving some kind of ‘acceptable’ result or simply forget that it’s about play and fun. Literally see yourself a five-year-old with a paint brush and approach it like that. Would you say to your five-year-old that their art was terrible? No, you would just say “did you have fun doing it?” ….and then say "I love it!!"
Basically, I’m saying being kind to yourself is a great lesson you can learn through your art.
Wonderful Artist whose works really shines (and I feel their style is relevant to this topic) :
Graham Reynard - Amazing artist’s
https://www.instagram.com/kenyounglineandwash/ - Big fan of Ken's bold art
John Warburton (@johnwarburtonartist) | Instagram - Softer delicate style
Home | Charles Flinders Charlie's work is brilliant
John Harrison The man, the legend! Great Course and a fabulous Youtube channel
Captain Tom aka Tomas Pajdlhauser who is @Captain_Tom in insta. I love his style
Brian Ramsey – Drawings and Watercolour Art Brain is a completely unique and lovely individual. His art is fabulous,
www.simoneridyard.co.uk/ - Simone Ridyard is a renown Urbansketcher for very good reasons.
https://www.instagram.com/karenjjonesjohn/# More fabulous combo's of like and colour from Karen
Ink and watercolour art by cornish artist oliver castledine – Oliver Castledine Studios - Nice guy and wonderful art
Fritz Fitton - Original Landscape Drawings & Paintings (fritzfittonart.com) Amazing talented artist. There is no-one like Fritz or his art!
dougjartwork@gmail.com Copyright © 2024 Doug Jackson Artwork. All Rights Reserved

